
Quick Navigation
- Why Need to Activate It?
- What You’ll Need
- Step 1: Launch the SADP Tool
- Step 2: Select Your Camera & Set a Password
- Step 3: Enable Password Recovery Options
- Step 4: Check Router IP Address
- Step 5: Modify Camera IP Address
- Step 6: Camera Preview
- Frequently Asked Questions
- Conclusion
Just got your brand-new hikvision/hitosino camera?
Before you install it or connect it to your NVR, there’s one critical step you must take first — activation.
Without activation, the camera won’t function, can’t be added to your network, and may even expose you to security risks.
This guide will walk you through the entire process step by step — no tech background required.
Why Need to Activate It?
When you take a hikvision/Hitosino camera out of the box, it’s in Inactive mode — meaning:
- It has no password set
- It cannot be added to an NVR
- It’s vulnerable to unauthorized access
To activate it, you’ll create a secure password, assign an IP address, and prepare the device to join your home or business network. It’s the first — and most important — step toward a secure surveillance system.
What You’ll Need
- Your new hikvision camera
- A PC or laptop (Windows preferred)
- A PoE switch or power adapter
- A LAN (local area network)
- SADP Tool installed on your PC
Once all items are ready, you can correctly connect all the devices according to the connection layout shown in Figure 1 or Figure 2.

Figure 1

Figure 2
Step 1: Launch the SADP Tool
Open the SADP Tool on your Windows computer. Click "Refresh" and it will automatically scan your local network, listing all connected hikvision/hitosino devices.
Look for devices labeled "Inactive" — these haven’t been set up yet and require activation before use.

Figure 1-1
Step 2: Select Your Camera & Set a Password
Select the device and set a strong admin password when prompted.This password will be used to access your camera's settings, so make sure it’s something secure and memorable.
After setting the password, click "Activate" to successfully activate the device.

Figure 2-1
Step 3: Enable Password Recovery Options
Once the device is successfully activated, the system will automatically prompt you to set up password recovery options. This is a critical step to avoid getting locked out of your camera in the future.
You can choose one or more of the following recovery methods:
- Security Questions: Set up personal Q&A to reset your password later
- Email Binding: Enter your email address to receive a verification code during password reset
- Export GUID File: Save a unique encrypted file to your computer or USB, used for password recovery
- Hik-Connect Binding: Bind your device to the mobile app for app-based reset options

Figure 3-1
Note: Depending on your camera model and firmware version, some of these recovery options may not appear during setup. Still, we strongly recommend enabling Security Questions and GUID file export, as they are widely supported and highly reliable.
Step 4: Check Router IP Address
Open Network & Internet Settings, and follow the steps below to check your IP address.
 Figure 4-1
 Figure 4-2
 Figure 4-3
 Figure 4-4
Step 5: Modify Camera IP Address
Most hikvision / hitosino cameras use a default IP like 192.168.1.64. If that doesn’t match your local network, your computer won’t detect the camera. You’ll need to update the IP address so both are on the same subnet.
Open SADP again and follow the steps below to change the camera's IP address.

Figure 5-1
To make sure they are in the same network, the camera's IP address can be 192.168.200.X, where X can be any number between 2 and 254. However, it cannot be the same as the network's current IP address (to avoid IP conflicts). For example: 192.168.200.125.
Set the camera's subnet mask to match the router's (for example, 255.255.255.0) and set the gateway to 192.168.200.1.
Enter your password and click “Modify” to save the settings.
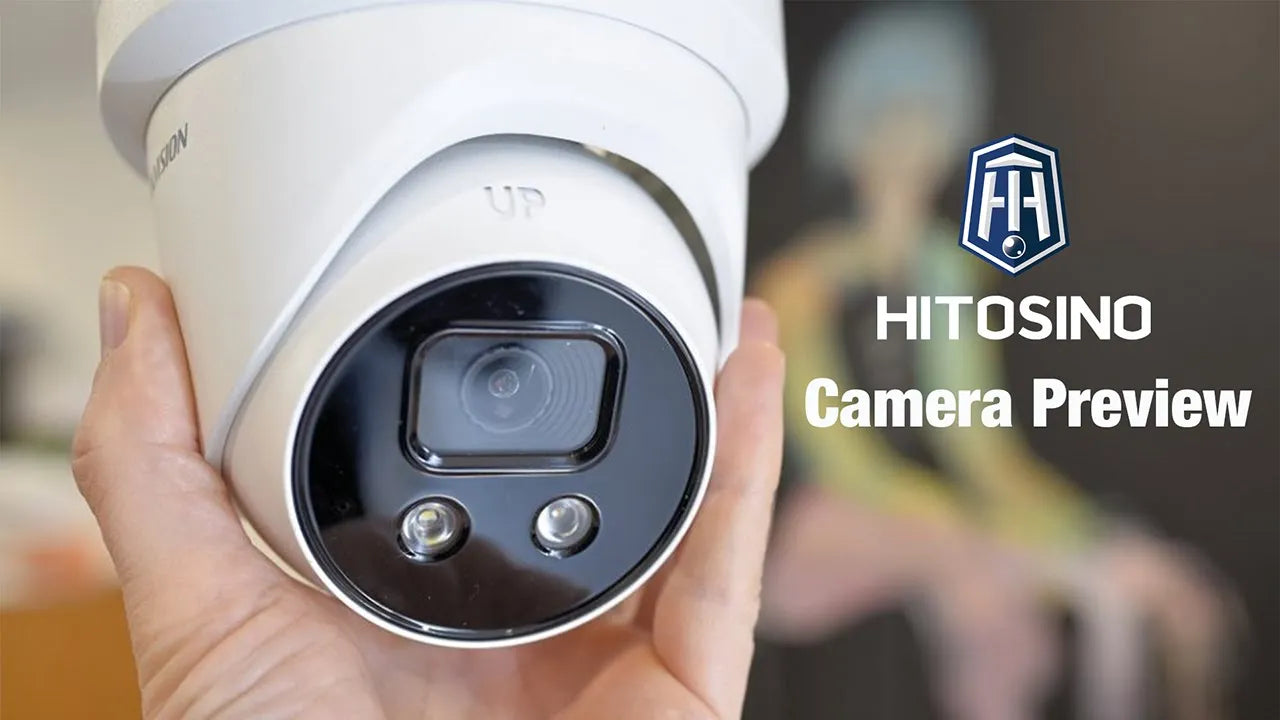
Step 6: Camera Preview
Open the SADP tool and follow the instructions in the image to operate.
 Figure 6-1
 Figure 6-2
 Figure 6-3
 Figure 6-4
Frequently Asked Questions
Q1: I changed the IP address, but the camera still doesn’t show up.
A: You may have assigned an IP outside of your network range, or with a duplicate IP. Make sure the IP is in the same subnet as your computer, and not already used by another device.
Q2: I don’t see the Email Binding or App Reset option.
A: Not all models support every password recovery method. We recommend at least enabling Security Questions and exporting the GUID file
Q3: What happens if two devices use the same IP address?
A: This causes an IP conflict — both devices may stop working. Always assign a unique IP address within your network.
Q4:Why am I automatically logged in without installing the plug-in?
A: If you access the device using Google Chrome 57 or later, or Firefox 52 or later, no plug-in installation is required. You can operate and configure the device right after logging in.
Conclusion
By following this step-by-step guide, you’ve successfully activated your device.Don’t forget your login credentials and password recovery options — these small steps can save you time later.
Now that your camera is up and running, you might be wondering what needs to be configured next.In our next guide, we’ll show you how to set up key system features on your HIKVISION camera — stay tuned!
Need more help? Visit our FAQ/Support Center or email support@hitosino.com.