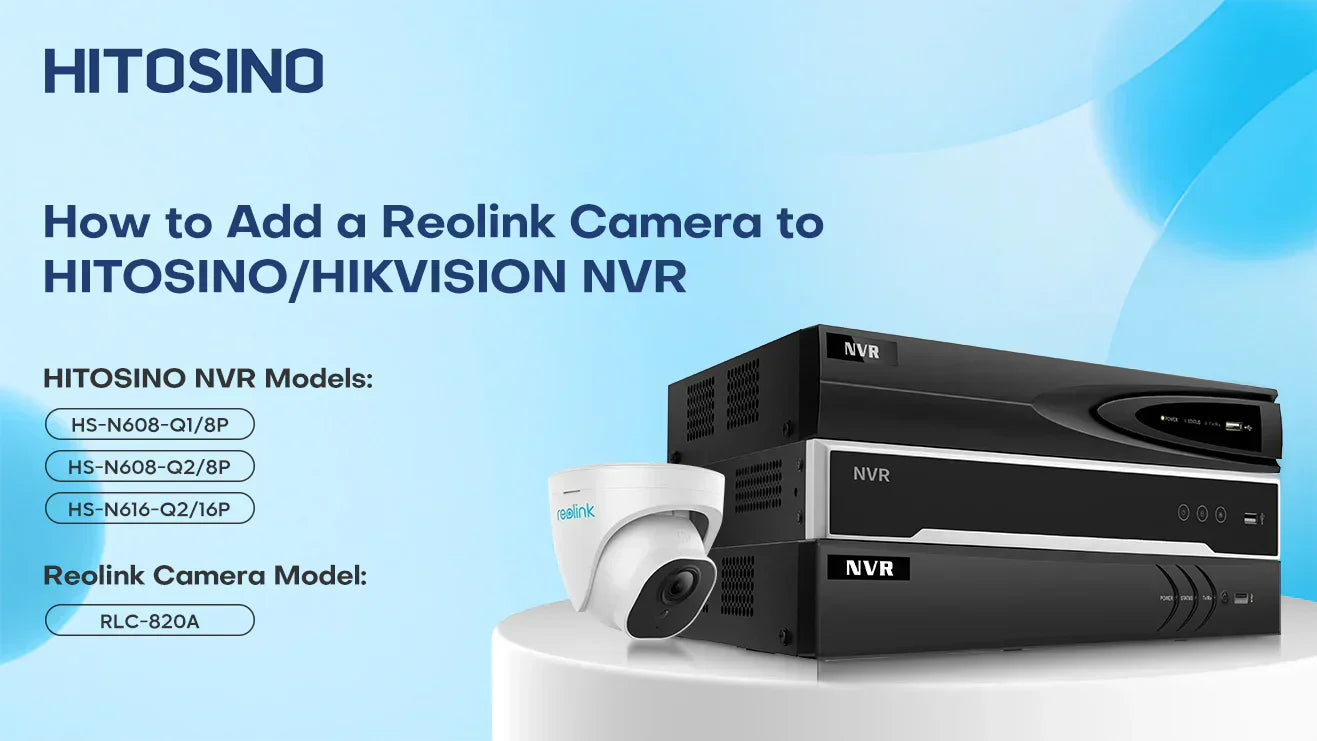
Integrating devices from different brands into a seamless surveillance system can be challenging. This article explains how to connect a Reolink camera to a Hitosino NVR or Hikvision NVR using the ONVIF protocol.
Simply Understanding the ONVIF Protocol
ONVIF (Open Network Video Interface Forum) is a global and open corporate forum that was founded to standardize IP-based security devices, facilitating interoperability between different brands. Learn more about ONVIF.
Preparation
Before connecting your Reolink camera to the HITOSINO/Hikvision PoE NVR using ONVIF, please ensure:
- The Reolink camera is reset to its factory default settings.
- Reolink video management software is downloaded on your computer.
- You have the username and password of your HITOSINO/Hikvision NVR ready.
Connection method
To initialize your Reolink camera on your computer, we need to slightly adjust the system connection by switching the network cable from the NVR's LAN port to one of the NVR's PoE ports. This adjustment ensures that the camera, computer, and router are on the same LAN, allowing you to access and operate the camera directly from your computer.
Regular Connection:

Adjusted Connection:

Now, let's start setting up your system step by step.
Setup Guide
Step 1: Initialize the Reolink Camera
Open Reolink software on your computer, select the camera, input and confirm your password to initialize it.

Step 2: Enable RTSP and ONVIF

- Go to Network > Advanced> Server Settings to enable RTSP and ONVIF.

- Check the boxes of RTSP and ONVIF seperately, then click Confirm in the popup windows.
Enable RTSP

Enable ONVIF

After you've finished the prior steps, proceed to save your configurations.

Step 3: Configure the Camera's IP Address
Go to Network> Network Information to modify the IP address, subnet mask and gateway of your camera to match the NVR’s built-in LAN.


This step is crucial for a successful setup. Setting the IP address correctly can be challenging, even for experienced users. Please keep in mind that it is essential to ensure that the IP address of the IP camera is on the same network segment as the PoE NVR's built-in IP address to enable communication and data transfer.
For Hikvision or Hitosino PoE NVR, the built-in IP Address is 192.168.254.x. The IP address of the Reolink camera must be changed to 192.168.254.x, where “x” can be any number from 2 to 254, but it must not conflict with your other network devices. And meanwhile, set the Subnet mask to 255.255.255.0 and Gateway to 192.168.254.1.
For detailed information on IP addresses, check our tutorial.
The following steps will be operated on your monitor of your security system.
Step 4: Configure the HITOSINO/ HIKVISION NVR
Click Configuration> Camera> PoE Bingding Configuration to uncheck the channel occupied by Reolink camera, then click Apply.
Step 5: Add the Reolink Camera to the NVR
Go to IP Channel and select the Reolink camera from the Online Device List. Refresh if it doesn't appear.

Step 6: Edit Camera Settings
Click Edit on the Reolink camera from the Added Device List, input the Reolink password, and click OK.

If everything is set up correctly, you'll see a green check mark indicating a successful connection. You can navigate to the live view to see the camera feed.

Once you have successfully added the Reolink camera to your HITOSINO/HIKVISION NVR, please switch the connection back to your Regular connection.
There are multiple ways to set up your system using ONVIF, and we understand each experience is unique. If you still encounter issues with connections, please don’t hesitate to contact us at support@hitosino.com. We are always here to help you. For additional resources, check out our FAQ and support center.
Additional Resources:
Video Tutorials
Operational Guides
- How to add a Uniview camera to a HITOSINO/HIKVISION PoE NVR
- How to add an Amcrest camera to a HITOSINO/HIKVISION PoE NVR
- How to add a Dahua/Valucam camera to a HITOSINO/HIKVISION PoE NVR
Compatible product models are listed in the table below.
| ASIN | HITOSINO NVR | Hikvision Model Number | Compatible Products for Frontend/Backend |
| B0CKYZ1TFQ | NVR-N608-Q1/8P-2TB | DS-7608NI-Q1/8P | All Reolink Cameras, our Video Camera Model: RLC-820A |
| B0CJWWFZGB | NVR-N608-Q1/8P-2TB | DS-7608NI-Q1/8P | All Reolink Cameras, our Video Camera Model: RLC-820A |
| B0CYCB4YJM | NVR-NI616-K2/16P | DS-7616NXI-K2/16P | All Reolink Cameras, our Video Camera Model: RLC-820A |
| B0C5MHXQCY | NVR-N608-Q1/8P-2TB | DS-7608NI-Q1/8P | All Reolink Cameras, our Video Camera Model: RLC-820A |
| B0B5ZW164L | NVR-N608-Q1/8P-2TB | DS-7608NI-Q1/8P | All Reolink Cameras, our Video Camera Model: RLC-820A |
| B0B8VMVBQT | NVR-N608-Q1/8P-2TB | DS-7608NI-Q1/8P | All Reolink Cameras, our Video Camera Model: RLC-820A |
| B0CYSM3KCD | NVR-NI632-K2/16P | DS-7632NXI-K2/16P | All Reolink Cameras, our Video Camera Model: RLC-820A |
| B0B8VPDFJZ | NVR-N608-Q1/8P-2TB | DS-7608NI-Q1/8P | All Reolink Cameras, our Video Camera Model: RLC-820A |
| B0BPXTCHX2 | NVR-N608-Q1/8P | DS-7608NI-Q1/8P | All Reolink Cameras, our Video Camera Model: RLC-820A |
| B0D266YZ4F | NVR-N608-Q1/8P-2TB | DS-7608NI-Q1/8P | All Reolink Cameras, our Video Camera Model: RLC-820A |
| B0CC9CCTFZ | NVR-N616-Q2/16P-N | DS-7616NI-Q2/16P | All Reolink Cameras, our Video Camera Model: RLC-820A |
| B0CR9VGLDQ | NVR-N608-Q1/8P-2TB-2N | DS-7608NI-Q1/8P | All Reolink Cameras, our Video Camera Model: RLC-820A |
| B0CWNRK6N7 | NVR-N608-Q2/8P-N | DS-7608NI-Q2/8P | All Reolink Cameras, our Video Camera Model: RLC-820A |
The connection is the same for all Reolink cameras and HITOSINO/Hikvision PoE NVRs. However, it is always recommended to use the same brand for cameras and NVRs within a single system to ensure that all functions work properly.

